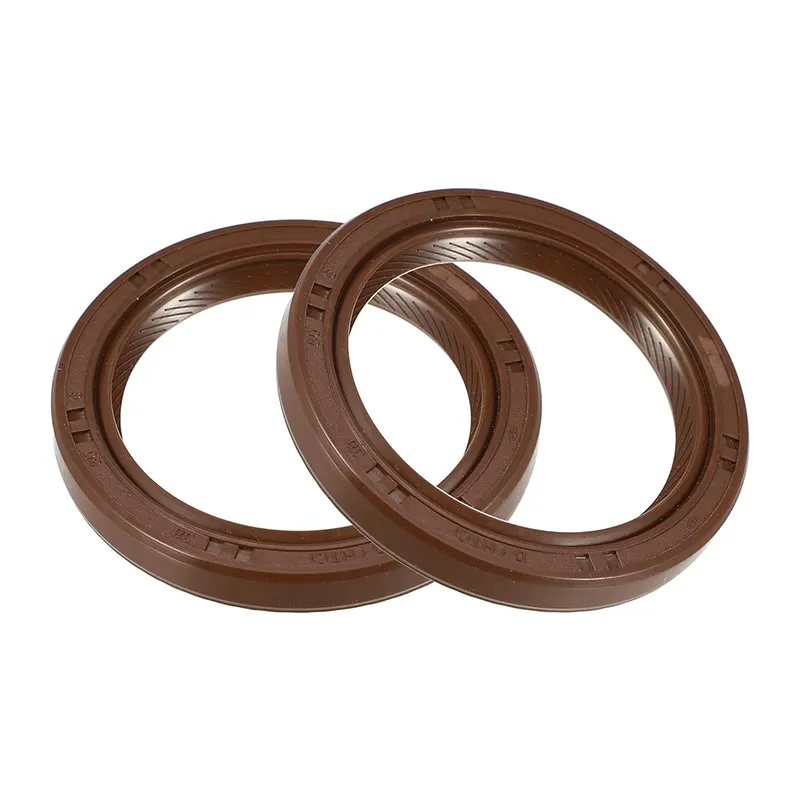
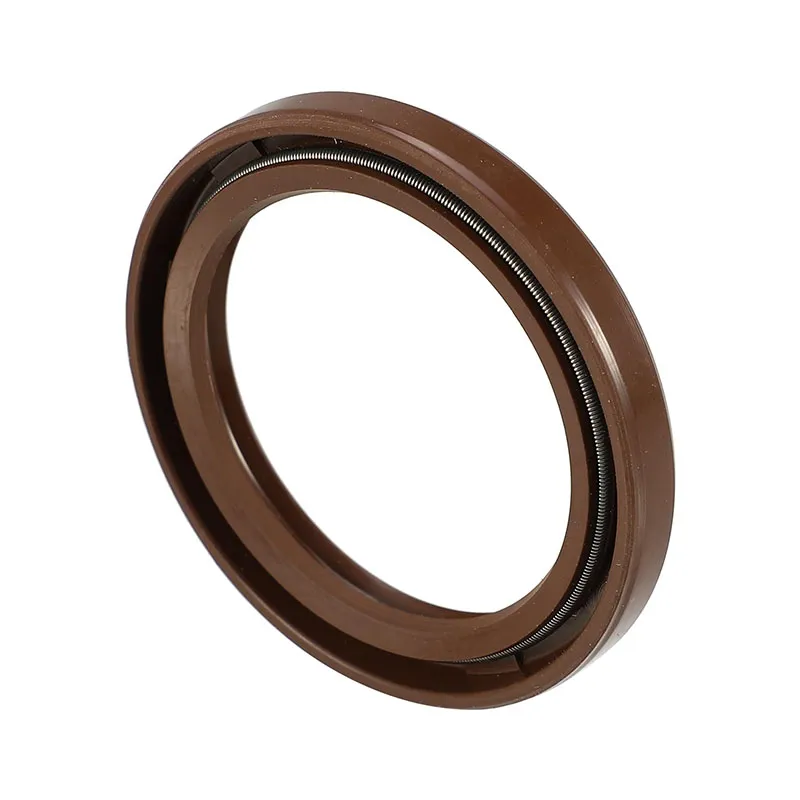
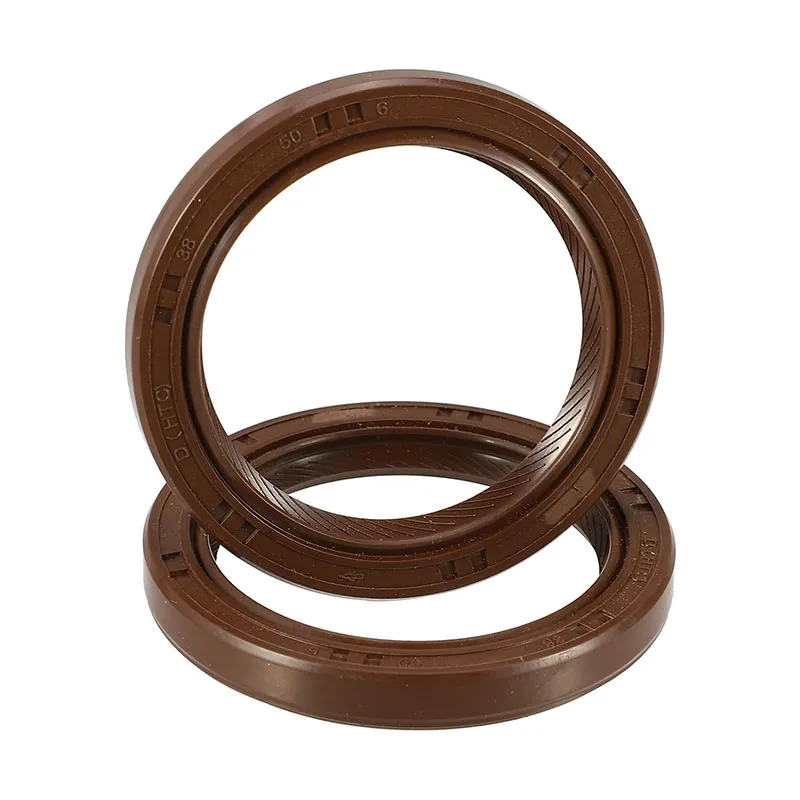
Engine Crankshaft Oil Seal No 9031138096
OE number 9031138096. This crankshaft oil seal fits Lexus CT200h models from 2012–2017 and Lexus HS250h models from 2011 and 2012. Function: The crankshaft oil seal helps seal the crankcase to
Send Inquiry
Engine Crankshaft Oil Seal Details
OE number 9031138096. This crankshaft oil seal fits Lexus CT200h models from 2012–2017 and Lexus HS250h models from 2011 and 2012.
Function: The crankshaft oil seal helps seal the crankcase to prevent oil leakage.
Features: Made from rubber, the oil seal offers sealing performance and ductility. It is intended to replace a damaged crankshaft oil seal.
Installation: Designed to be placed in the crankcase for sealing, with no tool required.
Product Description and Specifications
Features
The crankshaft oil seal helps seal the crankcase to prevent oil leakage.
Made from rubber, it provides sealing performance and ductility and is designed to replace a damaged crankshaft oil seal.
This is a non-OEM product and is an accessory only.
Specifications
Product color: Brown
Product material: Rubber, metal
Size: 6x50mm / 0.24"x1.97"(H*D)
Inner diameter: 36mm / 1.42"
OE number
9031138096
Vehicle fitment
Lexus CT200h 2012–2017
Lexus HS250h 2011 and 2012
Engine 9031138096 Replacement: A Comprehensive Guide
Replacing an engine—particularly one identified by a specific part number such as 9031138096—is a complex task that may be necessary after engine failure, reduced performance, or significant internal damage. Whether the equipment is a commercial truck, industrial machine, or agricultural vehicle, an engine replacement calls for technical knowledge, precision, and adherence to manufacturer specifications.
This guide outlines the engine replacement process associated with part number 9031138096, including reasons for replacement, preparation, installation, and considerations for a successful result.
1. Understanding Engine Part Number 9031138096
The exact specifications of engine 9031138096 depend on the manufacturer. A part number of this type generally identifies a particular engine model or configuration used in specific vehicles or machinery, and may indicate displacement, series, or design features.
These engines are commonly used in:
- Heavy-duty trucks
- Construction equipment
- Agricultural vehicles
- Generators or stationary power units
Confirming the correct part number is important for compatibility with the transmission, mounts, cooling system, and electrical connections.
2. Reasons for Engine Replacement
Replacement may be considered when repair is no longer feasible or cost-effective. Common reasons include:
- Severe internal damage, such as crankshaft failure or a seized piston
- Excessive oil consumption or loss of oil pressure
- Overheating that warps components or causes a blown head gasket
- Metal shavings in the oil, which can indicate internal wear
- Loss of power or poor compression
- Reduced fuel efficiency with no straightforward remedy
- Emissions-system failure that is uneconomical to repair
For fleet vehicles and commercial operations, downtime can be costly, so replacement may be a better long-term investment than repeated repairs.
3. Planning the Replacement
Plan the work before beginning the engine swap. These preparation steps help support a successful replacement:
Confirm compatibility
Check that replacement engine 9031138096 matches the original in the following areas:
- Mounting points
- Transmission connection
- Electrical connectors and wiring harnesses
- Emissions-control systems
Choose an engine type
Available options may include:
- New engine: More expensive, but provides a long service life and warranty.
- Remanufactured engine: Rebuilt to original specifications and supplied with warranties.
- Used engine: Lower cost, but may involve greater risk without a warranty.
Gather tools and parts
Depending on the vehicle, the required equipment and supplies may include:
- Engine hoist or crane
- Basic hand tools and specialty sockets
- Gaskets and seals
- Fluids such as engine oil and coolant
- Replacement mounts or belts
4. Engine Removal Process
Replacing engine 9031138096 involves several major steps, generally carried out in a workshop or garage:
- Disconnect the battery. Disconnect the negative battery cable to help prevent electrical shorts.
- Drain fluids. Drain the engine oil, coolant, and any transmission fluid that may be affected.
- Remove external components. Remove the air intake, radiator and hoses, exhaust manifolds, alternator, power steering pump, wiring harness, and sensors.
- Support the transmission. If the engine mounts are removed, use a jack or stand to support the transmission.
- Unbolt the engine mounts. Disconnect the engine from the chassis and transmission, then carefully lift it with an engine hoist.
5. Installing the Replacement Engine
After removing the old engine, prepare to install the replacement 9031138096 engine:
- Inspect and replace worn components. Check the engine mounts, clutch (for a manual transmission), hoses, belts, and sensors.
- Install the engine. Lower the replacement engine into position, align it with the transmission, and bolt the components together. Reconnect the mounts and torque them to specification.
- Reinstall external components. Reattach hoses, wiring, sensors, belts, and accessories in the reverse order of removal.
- Refill fluids. Add fresh engine oil, coolant, and any other required fluids.
6. Post-Installation Checklist
Once the replacement engine is installed, carry out a thorough inspection and initial test:
- Check all gaskets and connections for leaks.
- Verify fluid levels.
- Inspect engine timing and sensor calibration.
- Clear or reprogram any ECU codes.
- Perform a test start and idle check.
- Monitor for overheating, unusual noises, and warning lights.
7. Engine Break-In and Maintenance
New or remanufactured engines often require a break-in period. During this time:
- Avoid full throttle for the first 500–1000 km.
- Change the oil and filter after the break-in period.
- Monitor for leaks and unusual performance.
- Follow the manufacturer’s maintenance schedule.
8. Cost and Time Estimate
The cost of replacing an engine with part number 9031138096 varies according to local labor rates, engine source (new, remanufactured, or used), and any additional parts required, such as mounts, gaskets, and fluids.
Estimated costs:
- Used engine replacement: $2,000–$4,000
- Remanufactured engine: $4,000–$7,000
- New engine: $7,000–$10,000+
- Labor time: 10–20 hours, depending on vehicle complexity
9. Common Challenges
- Misaligned mounts or bellhousing
- Incorrect wiring connections
- An incompatible ECU or sensors
- Air locks in the cooling system
- Oil leaks caused by reused gaskets
Working with a certified mechanic or engine specialist can help prevent these issues.
Replacing an engine identified by part number 9031138096 is a significant operation that may be necessary when a power unit has failed or is underperforming. A systematic approach—confirming compatibility, using appropriate tools, and completing careful post-installation checks—can help restore the vehicle or equipment to working condition and extend its service life.
Consult the service manual or engine supplier for the torque settings, installation procedures, and maintenance guidance that apply to the specific engine model.
Send an Inquiry
Related Products
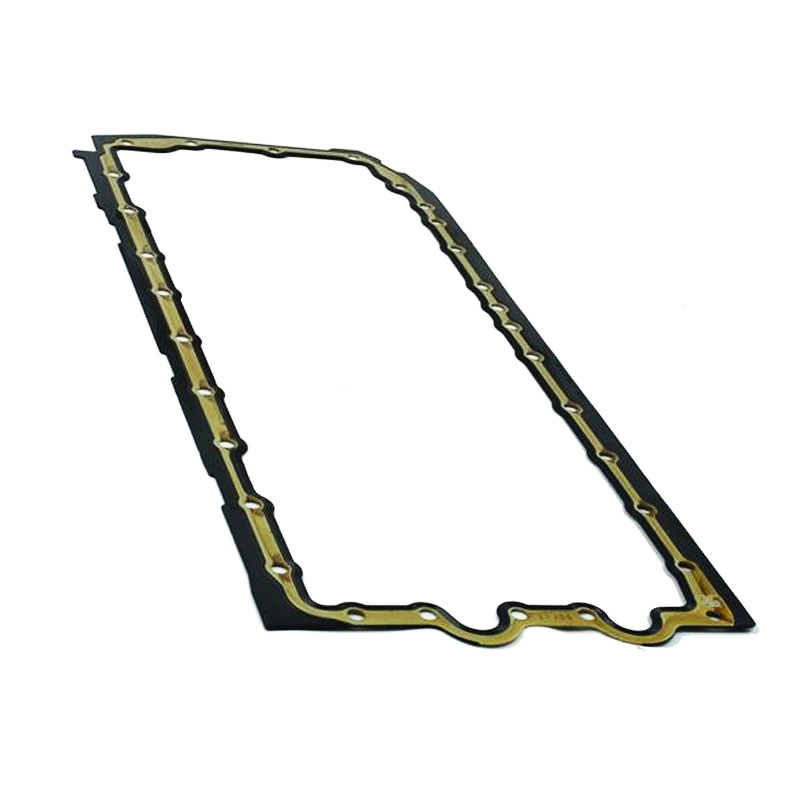
Yjm Oil Sump Gasket 11 13 7 600 482
Fitment The YJM oil sump gasket, reference 11 13 7 600 482, is listed for both left-hand-drive and right-hand-drive models. This fitment information is intended···
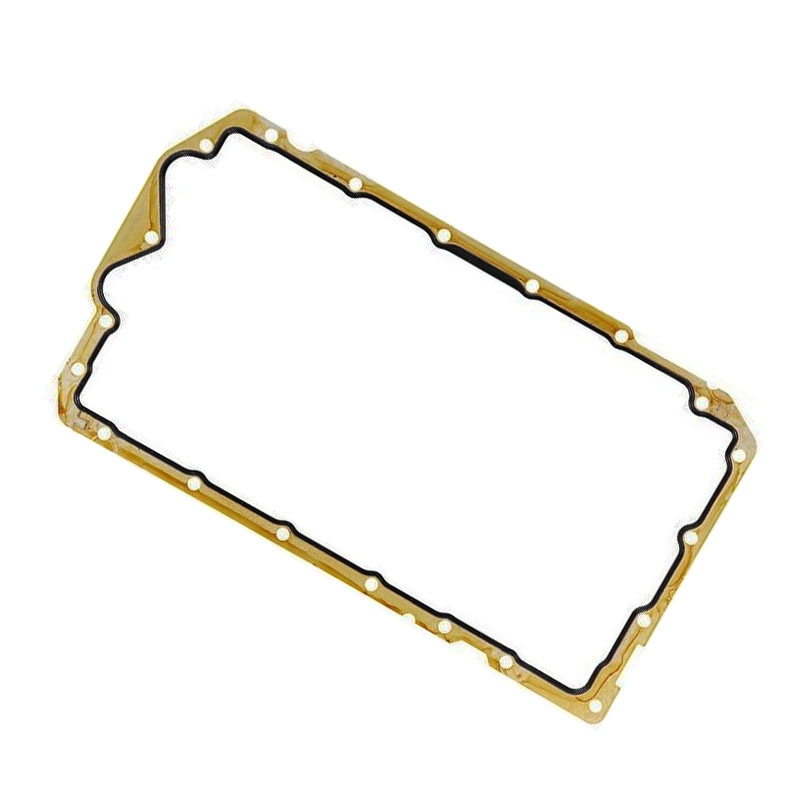
Yjm Oil Sump Gasket 11 13 7 511 224
Fitment This YJM oil sump gasket is listed for the BMW vehicle applications below. Use the fitment information as a starting point when identifying a replacemen···
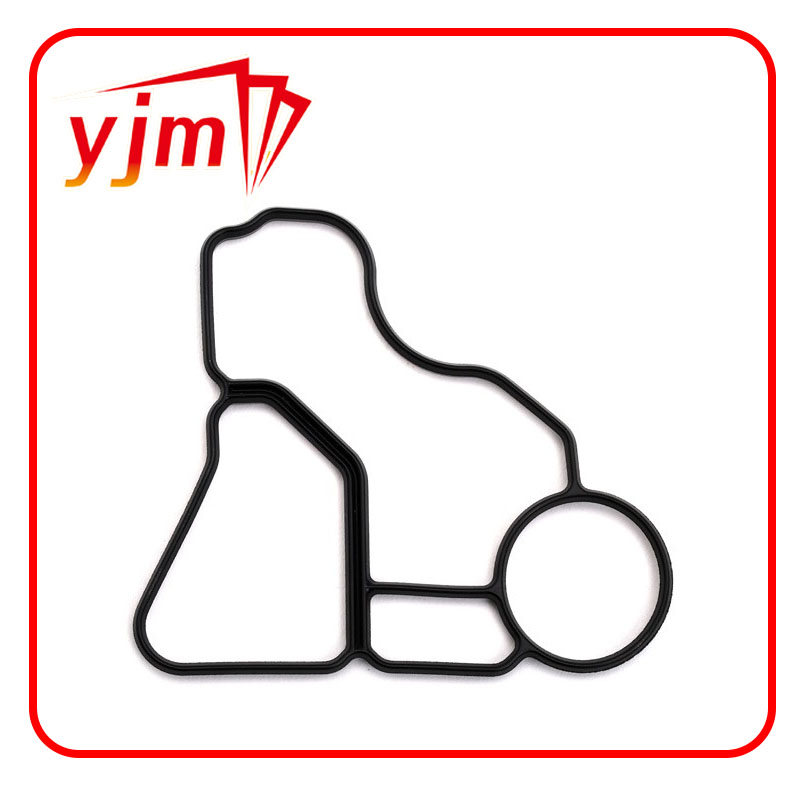
Seal Oil Filter Housing Engine Side Bmw Petrol 11427537293
This product is identified as a seal for the engine-side oil filter housing on BMW petrol vehicles. The product reference is 11427537293. When servicing the oil···
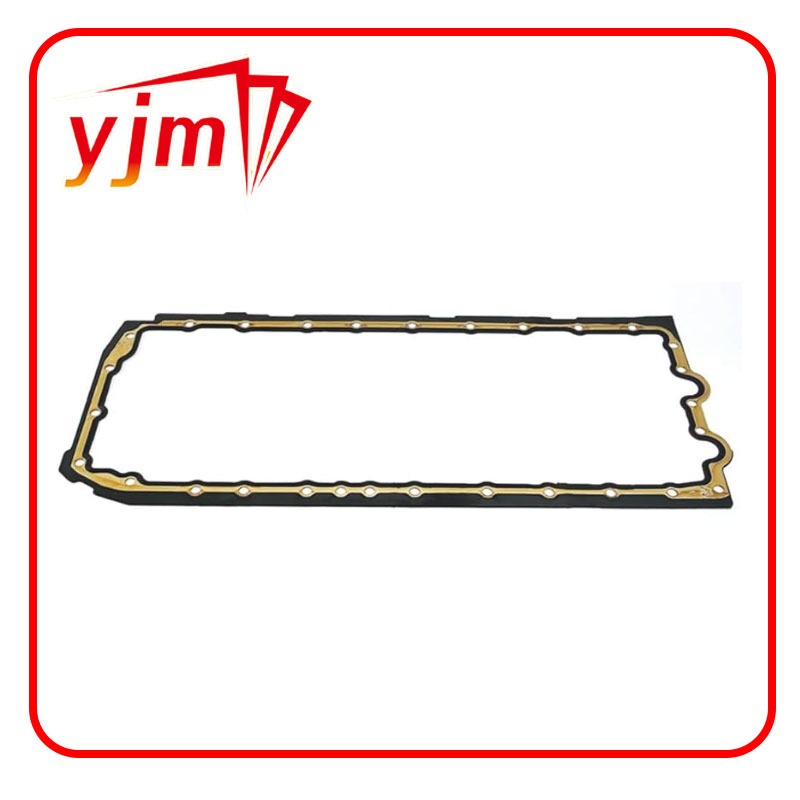
Oil Sump Gasket 11137548031 Bmw
BMW Oil Sump Gasket 11137548031 The oil sump gasket identified by part number 11137548031 is a BMW replacement part intended for use at the joint between the en···